

How To Apply Graphic Packing In Faucet Repair
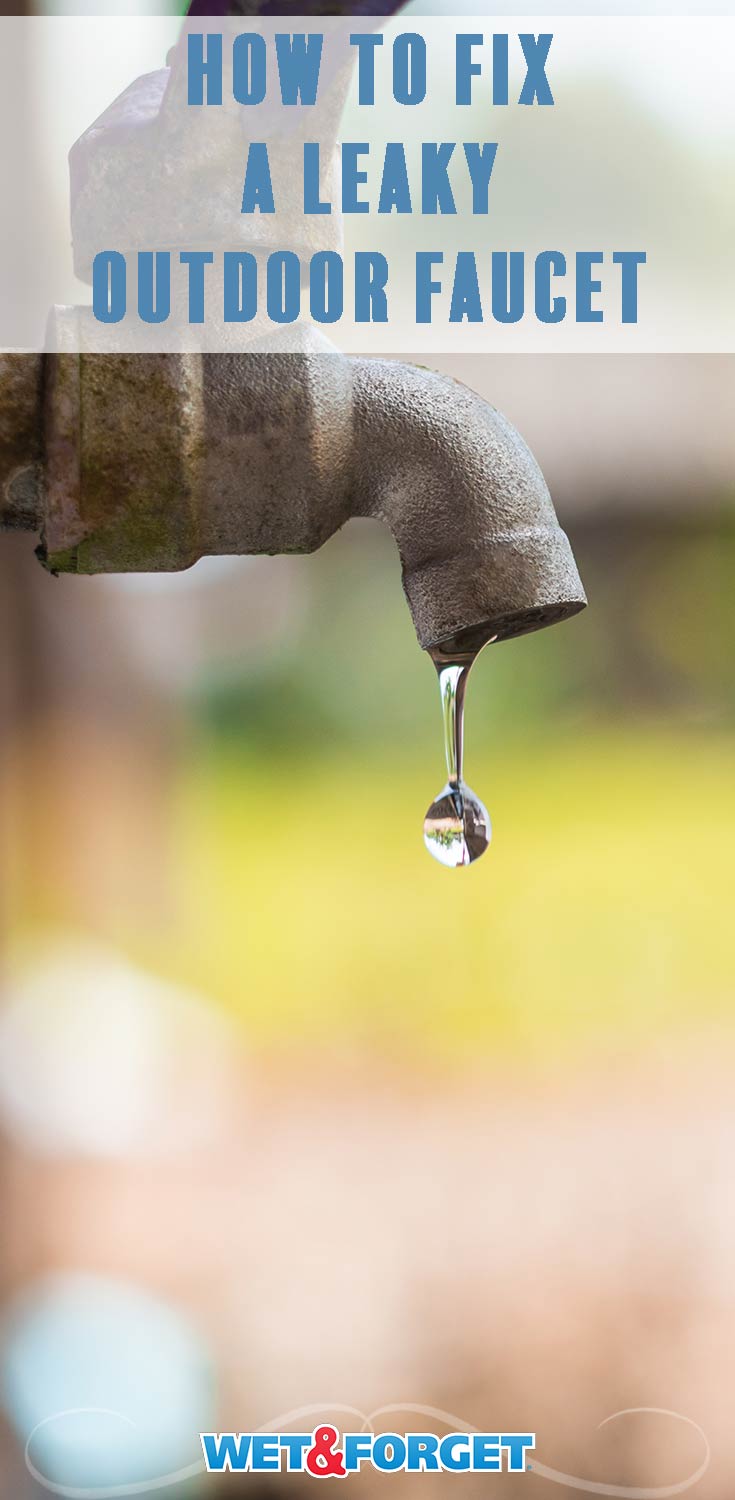
Outdoor Faucet Repair: Problem Leaks and How-to Fixes
A leaky outdoor faucet will waste gallons of water if not repaired. It too means higher water bills. And a vibrating or squeaking outdoor faucet is merely abrasive.
If you've got a leaky or squeaky outdoor faucet (either traditional or frost-free), then see below for handy outdoor faucet repair tips and how-tos.
Fixing a Leaky Exterior Faucet (Frost Gratis)
A frost-free outdoor faucet tin can forestall damage from winter'due south freezes and thaws. What's the deviation between standard outdoor faucets and frost-free versions? Frost-free faucets have a flow valve and pipage that is installed inside the wall.
Furthermore, the pipe extends through the wall to the within of the home, where it stays above freezing.
Similar fixing a standard outdoor faucet, repairing a frost-gratis faucet is also simple. The upshot may be a loose retaining nut. Or a problem with the vacuum billow or stem washer assembly.
What You'll Need
- Outdoor faucet repair kit (for your faucet brand)
- Pliers or adaptable wrench
- 2 flathead screwdrivers
- Phillips screwdriver
- Replacement vacuum billow parts
- Washer assembly
Footstep 1 – The easiest and starting time fix to effort – tighten the retaining nut. The retaining nut is located nether the handle. Use a wrench or pliers to turn the retaining nut clockwise, until snug. If the faucet all the same leaks, then move on to Step 2.
Step 2 – Plough off the water either at the close-off valve or at the main streetside valve.
Stride 3 – Unscrew the retaining nut past turning it counter-clockwise with a wrench or pliers.
Step 4 – Pull the faucet stem from the housing. You also may need to reinstall the handle and so plow it to remove the faucet stem.
Step five – Supervene upon the washer assembly – The washer associates consists of several small parts. Also, make a annotation of how the parts are put together. You'll be able to put the new parts on, the right mode.
Stride six – Unscrew the washer associates. Replace it with a new i from the repair kit. Reassemble the faucet.
Step seven – Nearly frost-gratis outdoor faucets have a plastic cap that covers the vacuum seal. If you come across water coming out from under the cap, then you have a vacuum seal leak. Pry the cap loose with a pair of flathead screwdrivers.
Step 8 –Remove the retainer – pull out the vacuum breaker.
Stride nine – Clean the servant and vacuum breaker, and reinstall. If you still see a leak, take the parts to your local hardware store or domicile center to find matching replacements.
Pro tip: Go along in listen that with whatever outdoor faucet, you'll need to remove the hose before cold temperatures set in to keep from damaging your pipes.
Fixing a Leaky Outdoor Faucet (Traditional)

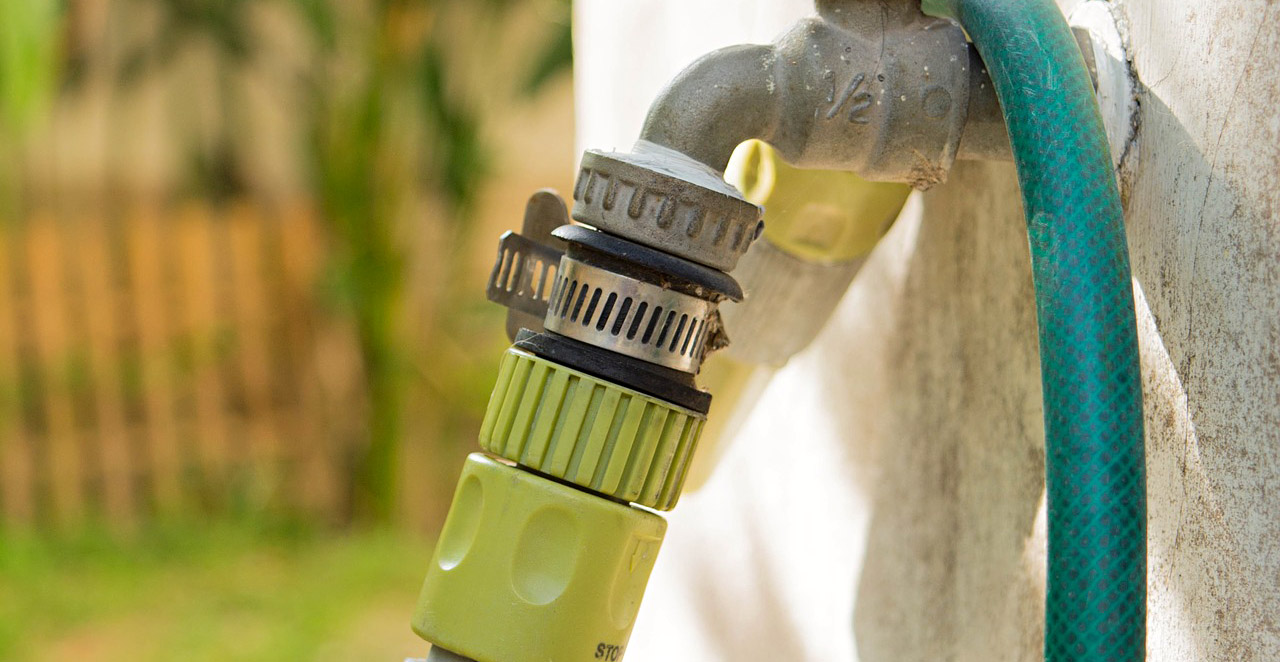
Repairing a dripping or leaking outdoor faucet (sometimes called a hose bibb) is usually a elementary procedure. The majority of leaks occur only nether the faucet handle.
What You'll Need
- Outdoor faucet repair kit
- Pliers or an adjustable wrench
- Screwdriver
- Utility knife
Step 1– Apply pliers to tighten the packing nut. It is located direct behind the faucet handle. Tighten the nut by turning the pliers clockwise. This should gear up the leak. If not, and then move on to Footstep 2.
Step 2 – Plough the water off at the shut-off valve or at the main streetside valve located most the property line, curb, or sidewalk. However, if you lot're not certain how to shut off the h2o, enquire your city's water utility section. Typically, they can tell you how or they will send out a worker to practise it for you lot.
Step 3 – Remove the packing nut by turning the nut counter-clockwise with pliers.
Step 4 – Pull the faucet handle and the stem from the housing. Find the rubber washer located on the stem end.
Step 5 – Examine the washer for wear or damage. If y'all notice article of clothing, and so move on to Step half-dozen.
Footstep half-dozen – Remove the rubber washer – remove the holding screw – take out the old washer with a utility knife.
Pace seven – Add a new washer to the stem and reattach the property screw.
Step 8 – Finally, reassemble the faucet and screw on the packing nut.
The repair steps above should fix most outdoor faucet leaks.
However, for leaks around the handle, unscrew the handle and remove the top nut (packing nut) with pliers. Locate the packing material within the nut and remove it.
Make certain to buy graphite valve stem packing at the local hardware store.
Wrap the packing around the exposed stem. Lastly, tighten the nut down over the packing material and reattach the handle.
Noisy Faucet Repair
If your outdoor faucet makes a loud vibrating sound, the problem could be as simple as replacing a worn safe washer. Stop a rowdy faucet with this quick faucet repair gear up –
What Yous'll Need
- Phillips screwdriver
- Wrench set
- Rubber washer
Footstep 1 – Turn off the water to the outdoor faucet either at the shut-off valve or at the main streetside valve.
Step 2 – Using a wrench, detach the faucet past turning the retaining nut counter-clockwise.
Step 3 – Remove the handle and stem associates. Locate the rubber washer attached to the stop of the stalk. And then, remove the worn washer past removing the screw. Lastly, attach a new washer – reassemble the faucet.
Pro Tip – If the washer is in good condition, merely the screw is loose, then put a drop or two of thread-locking fluid on the screw threads and tighten down.
For more details on fixing a noisy exterior faucet, click here.
Whether your outdoor faucet is leaky, squeaky, or just obviously annoying, the in a higher place outdoor faucet repair fixes volition allow you to h2o your backyard again, in peace, and in no time!
One time your outdoor faucet is repaired, you tin try out the new Wet & Forget Xtreme Reach™ Hose End. All you accept to exercise is connect your garden hose to the attached sprayer on the bottle, then you can apply Wet & Forget to all of your outdoor surfaces.
The Xtreme Reach™ Hose End sprayer makes it easy to make clean moss, mold, mildew, and algae on large surfaces and high elevations. And so now you can clean your roof or second story siding without needing to climb up onto a ladder.
If you take a h2o leak within your domicile, then cheque out our web log on stopping abrasive water leaks!


Source: https://askwetandforget.com/outdoor-faucet-repair-how-to-fixes/
Posted by: herbertxylaw1937.blogspot.com
0 Response to "How To Apply Graphic Packing In Faucet Repair"
Post a Comment